How to Delete Parts or CAE Results?
Deleting Parts
Users can delete a part or group of parts using the Product
Explorer context menu.
Select a part node or group node in the product tree by clicking on the node.
Right click on the selected node(s) to open the context menu.
Select Delete.
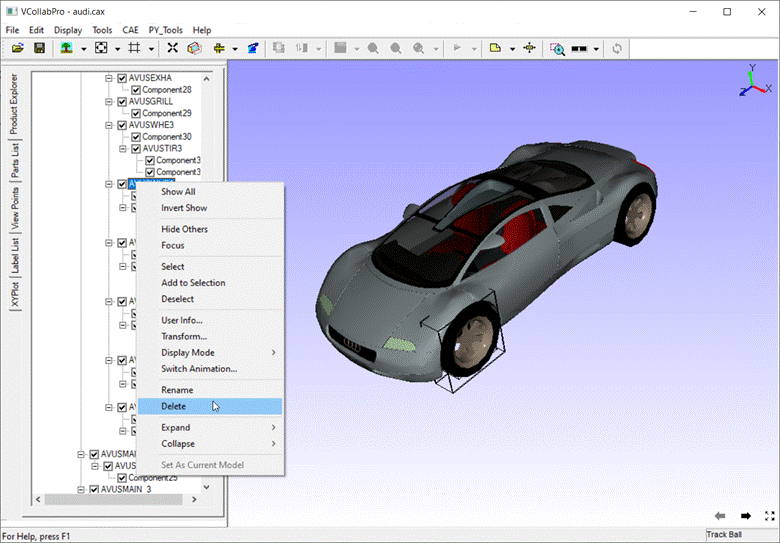
A message appears to confirm the deletion.

Click Yes to go ahead with deletion or No to cancel deletion.
The part or group of parts will be deleted from the scene and product tree, after the confirmation.
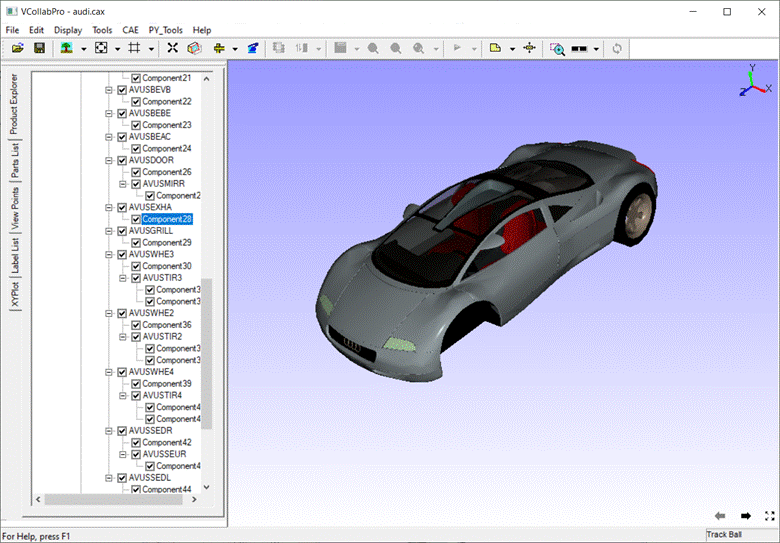
Deleting a single part by double clicking
For deleting individual parts, double clicking is a quicker way to open the context menu.
Select a part by double clicking
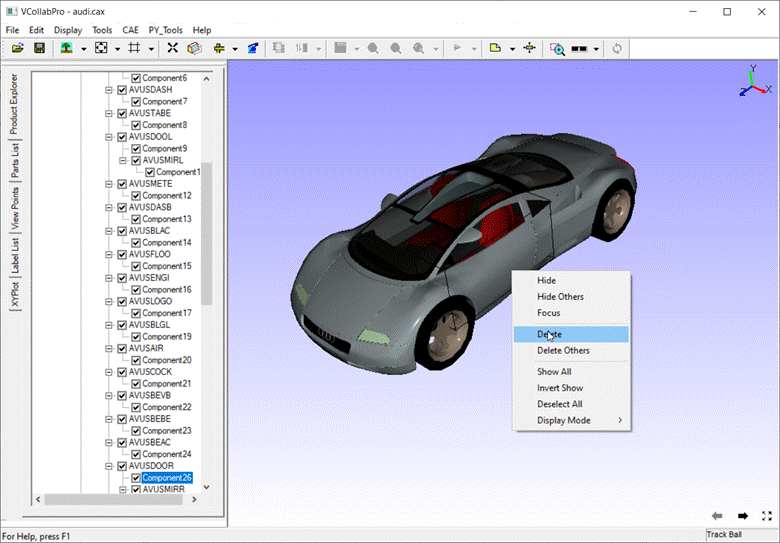
The context menu opens up. Select the Delete option.
Or
Select the Delete Others option to delete all parts except the selected one.
A confirmation message will be shown
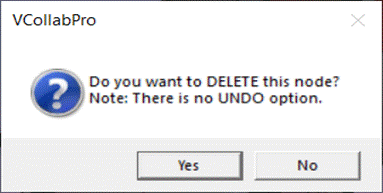
Click Yes to go ahead with deletion or No to cancel deletion.
The part will be deleted from the scene and product tree, after confirmation.
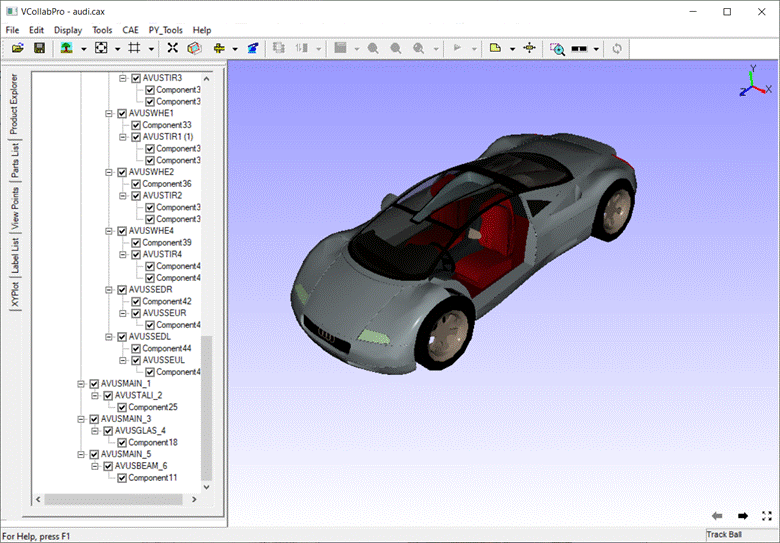
Users can save the remaining parts into CAX. The deleted parts can not be saved in CAX.
Deleting CAE result or Instances
Select a result from the result list.
Right click to open the context menu
Select the Delete Result option.
A confirmation message is shown. Click Yes to confirm
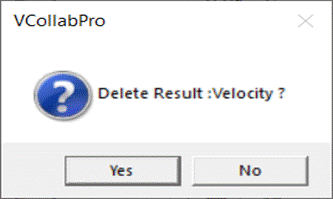
For deleting instances, select the Delete Instances option from the context menu to open the CAE Result Instances dialog as shown below.
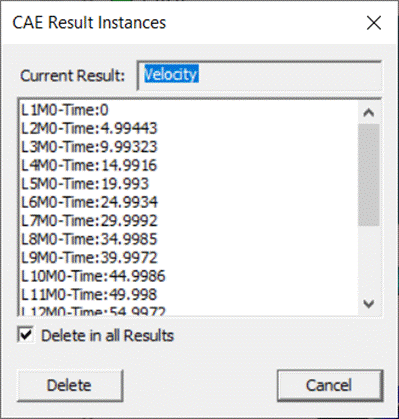
The result name as selected by the user is shown.
Select multiple instances using shift or control keys.
Check the Delete in All Results option to delete the selected instances in all results where it is present.
Leaves the Delete in All Results option unchecked to delete instances for the selected result only.
Click the Delete button to continue or Cancel to cancel the process.