How to Author an Animation?
VCollab Pro users can create animations to show component or design functions like assembly, disassembly, etc using the Animator tool.
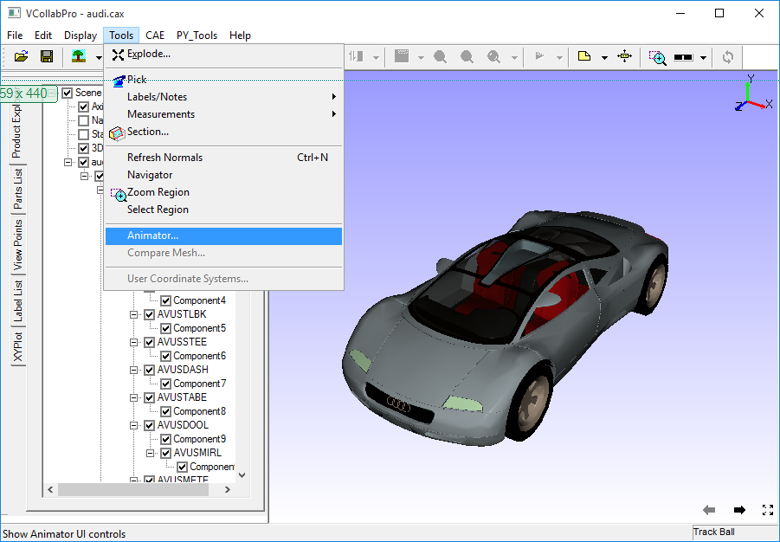
How to open animator window
Load any model in VCollab Pro
Click Tools | Animator to open the Animator player and toolbar
How to author an Action
Authoring an action can be done in several ways:
Through pick and move
Not using axis control
Using axis control
Through GUI.
1.a Steps for authoring an action through pick and move, not using axis control
Pick a part or an assembly by clicking in the viewer window or from the product explorer.
Pan, rotate, or zoom using the left, right, or middle mouse button.
Click Capture
 to capture action.
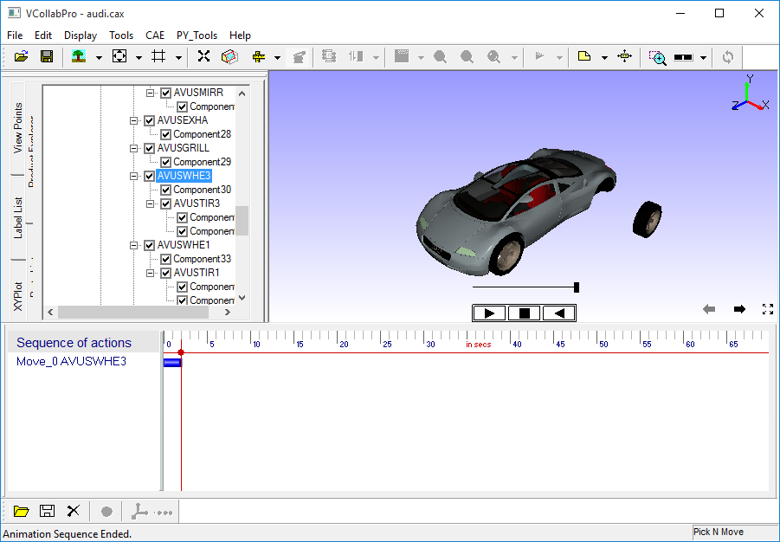
Follow steps from 1 to 3 to continue capturing other actions.
The below image shows authoring action without using axis control.
1.b Steps for authoring an action through pick and move, using axis control
Pick a part or an assembly by clicking in the viewer window or from the product explorer.
Click to enable the axis at the picked part/assembly.
Move the mouse over the axis to highlight the axis.
Rotate or move parts by holding the left or right mouse button.
Offset axis using the middle mouse button.
Follow steps from 1 to 5 to continue capturing other actions.
The below image shows authoring action using axis control.
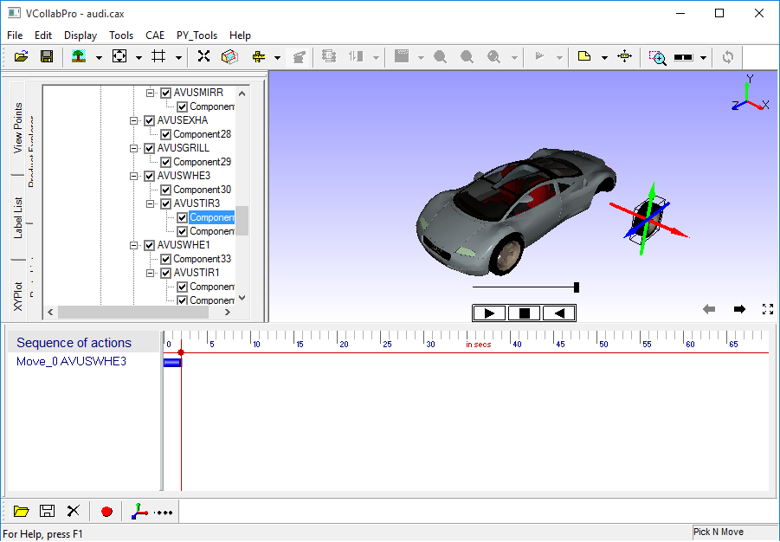
The below image shows authoring through Pick and Move, using axis (selected axis is highlighted)
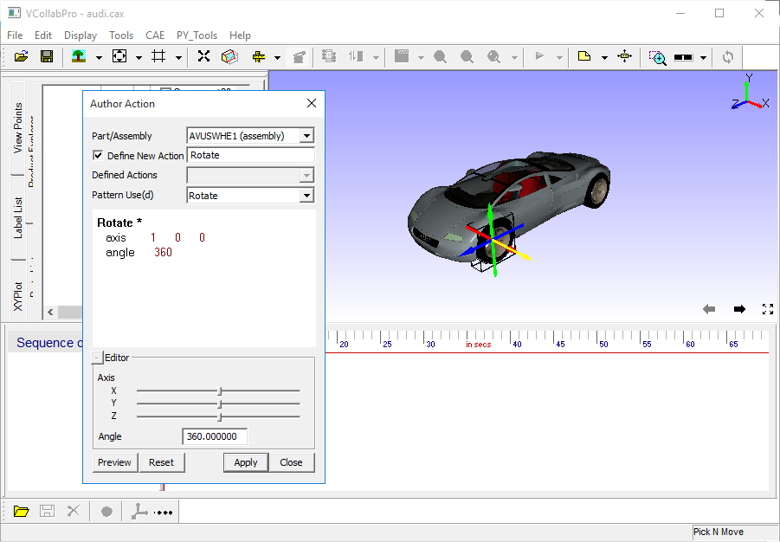
2. Steps for authoring an action through GUI
Pick a part or an assembly by clicking in the viewer window or from the product explorer.
Click Show authoring action
button in the Animator panel
Give a name to record new action
Select pattern for the action.
Select a basic action from the basic action window.
Edit basic action axis and its value.
Preview the action using the Preview button.
Apply the action to a selected part/assembly.
The below image shows authoring through GUI
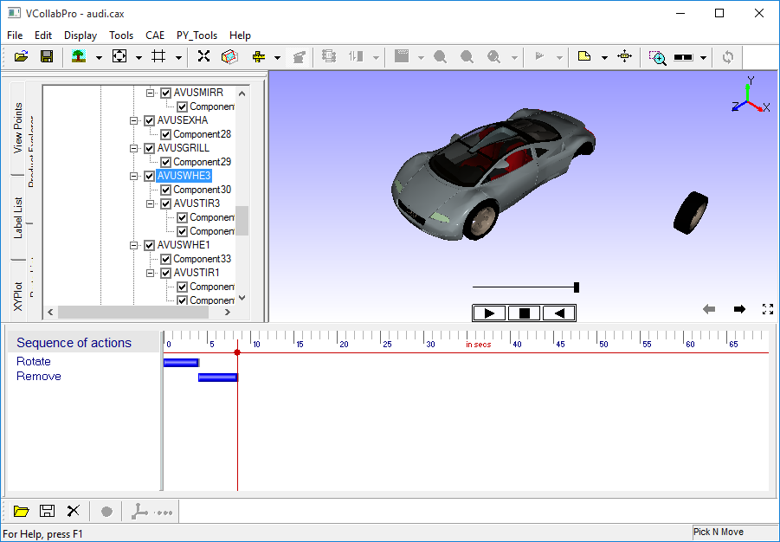
How to do sequencing?
All authored actions are added to a sequence. Users can change the order or change the time of action using the sequence viewer graphically.
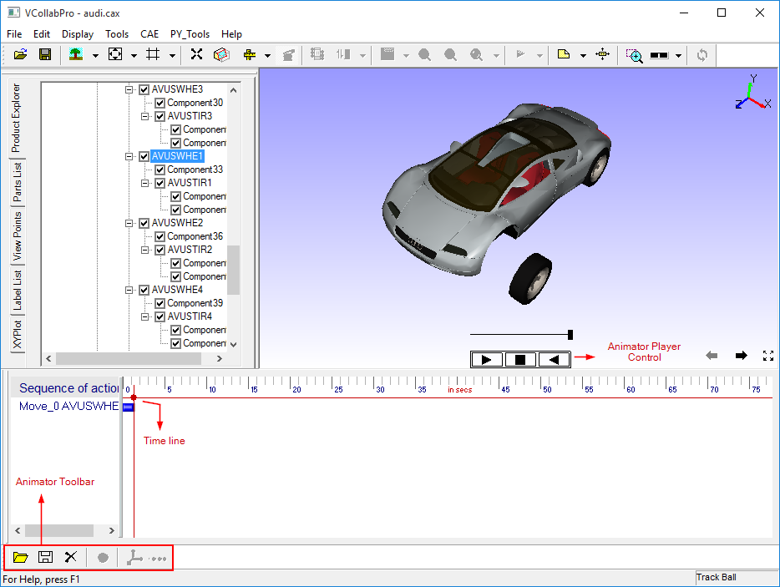
The image below shows a sequence with 2 actions, Move and Rotate part AVUSWHE1.

The image below shows a Sequence in which order of actions are changed.
The image below shows a Sequence in which duration of actions are changed.
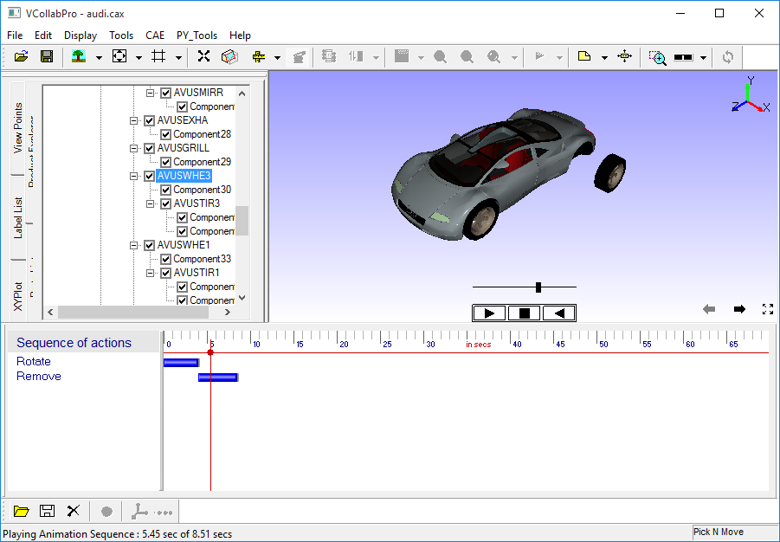
How to control a Sequence?
After creating the sequence, users can do several operations using
Player Control 
play
reverse play
pause and
stop
Reverse play enables the user to play animation in reverse without authoring that animation.
For example, if user authors disassembly, then he can animate assembly by reverse play.
How to save and retrieve a sequence
Once a sequence is ready click Save
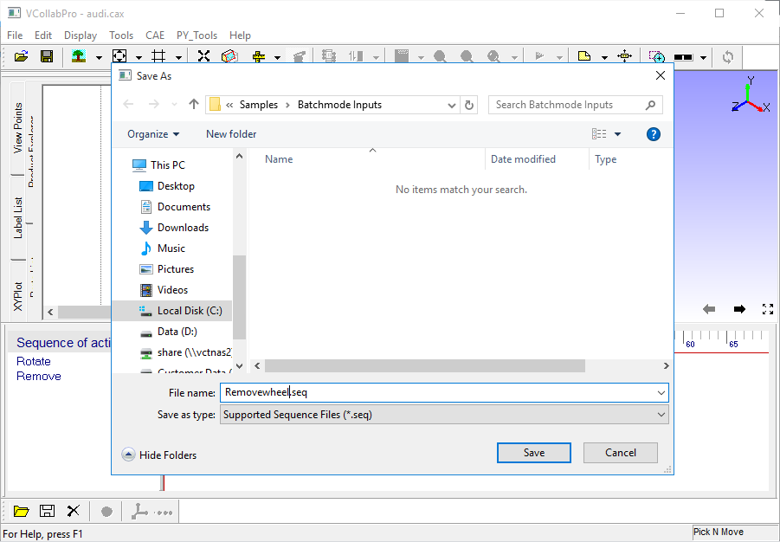
Enter a filename with extension .seq and click Save.
Click Open to retrieve or load a sequence.
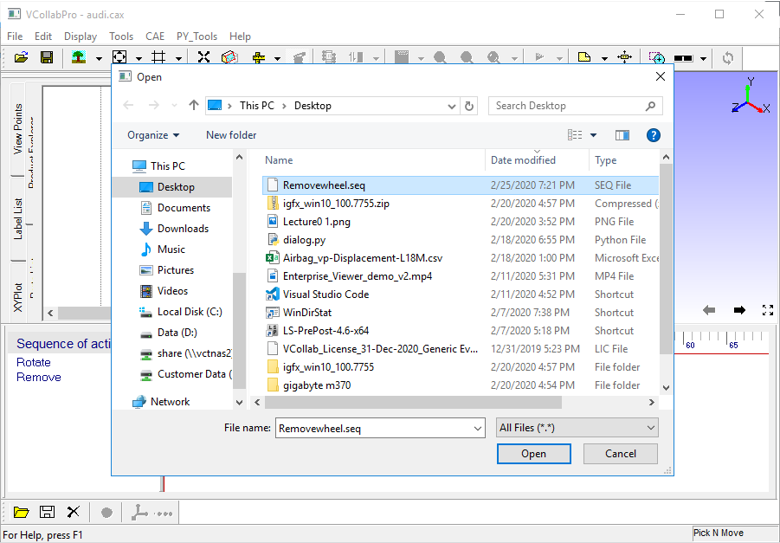
Select a file with extension .seq and click Open