How to Add Transparency to the Model / Parts in the Viewer?
Transparency can be applied to the full model or to selected parts.
Applying Transparency to the full model
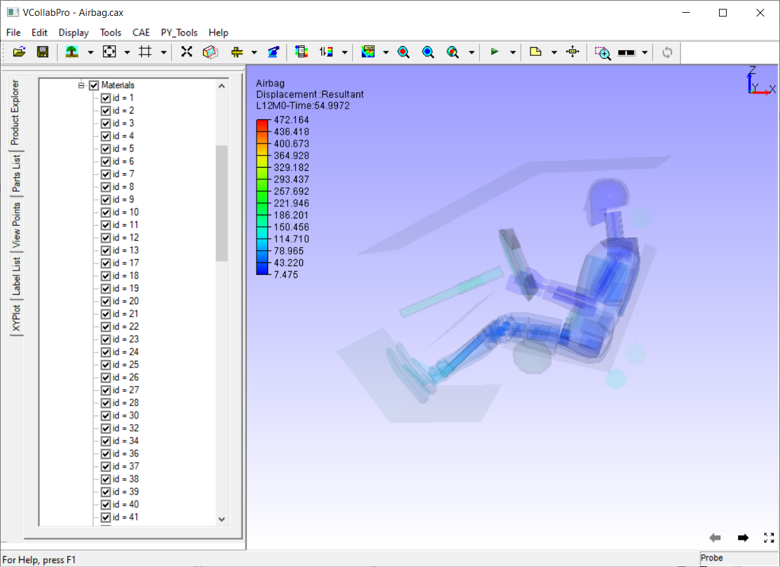
Open VCollab Pro and load a model
Click Display->Display Mode->Transparent.
Transparency to selected parts This can be achieved via:
Part Context menu
Part List panel.
Part Context menu
Select a part by double clicking on the part.
The selected part gets highlighted and the part context menu open up.
User Control + Double click for selecting multiple parts as below.
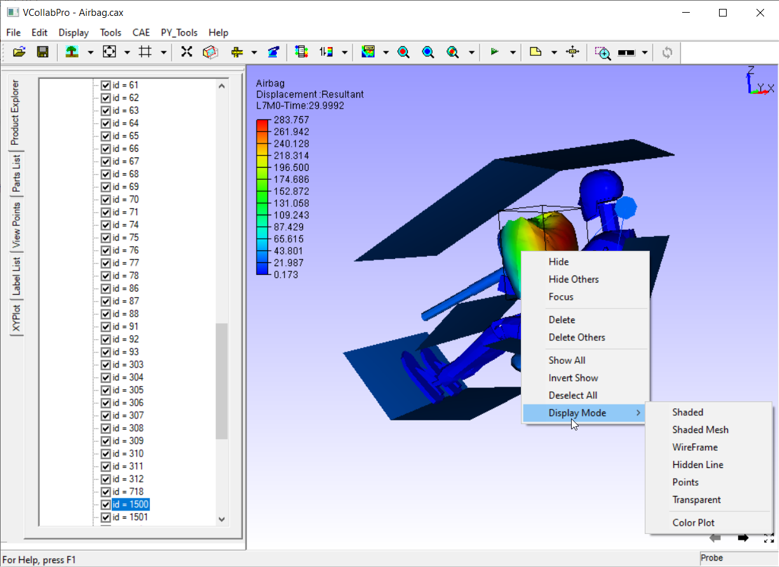
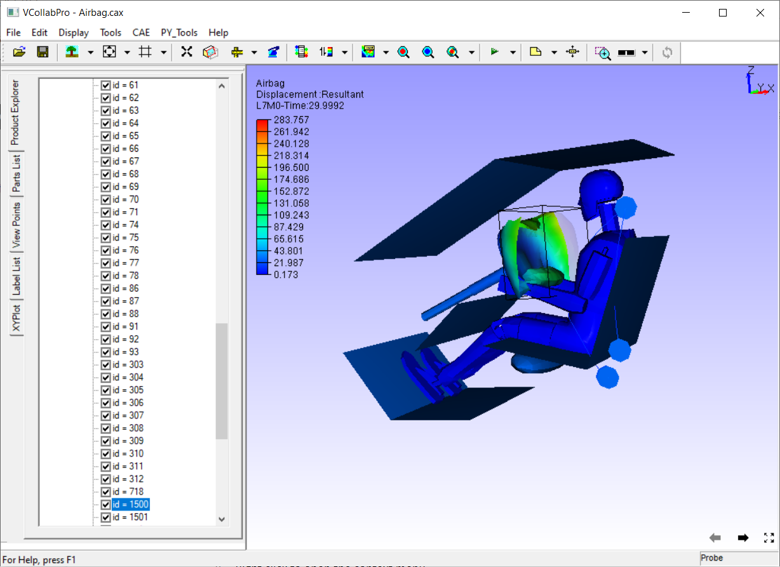
Select the “ Display Modes->Transparent” and now the transparency is applied only to the selected part
Part List Panel
Right click to open the context menu.
Select Product Explorer
Select Part List panel tab.
Select the parts to which transparency needs to be applied.
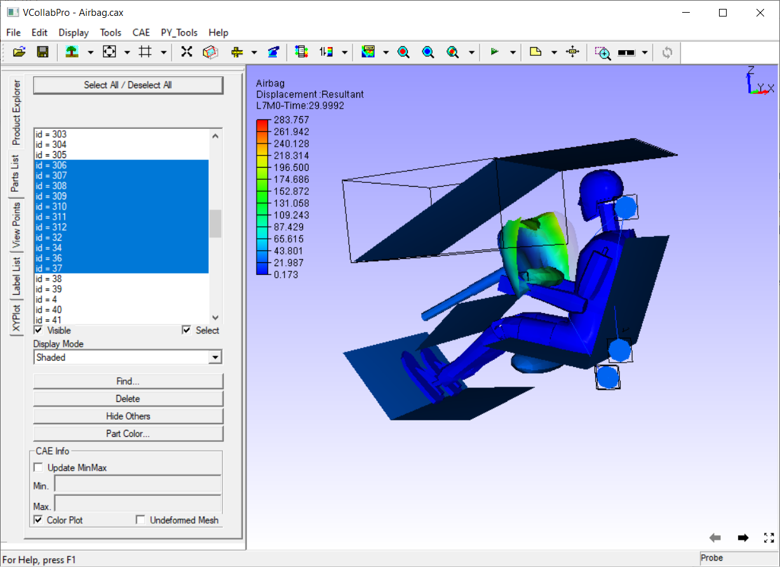
Open Display mode drop down list and select Transparent mode.
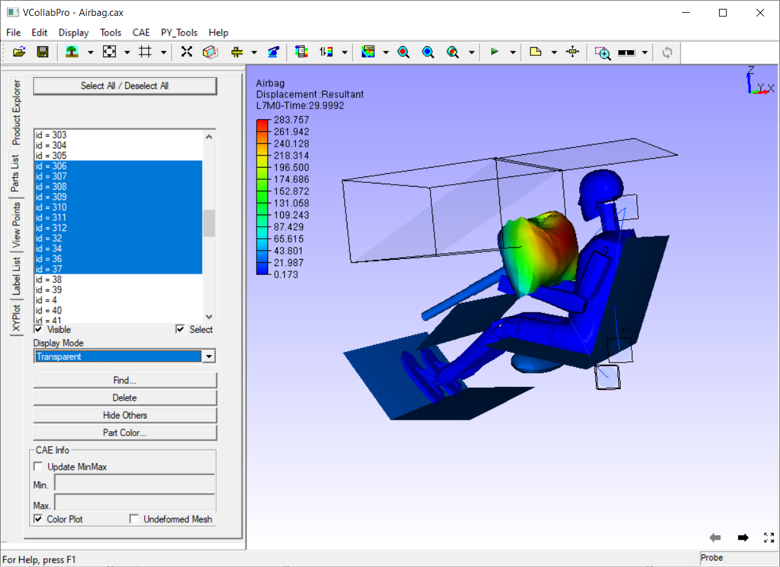
Notice that transparency is applied to selected parts.
To remove the transparency, select the part again by double clicking it and then choose Display Modes->Shaded or other display modes.