Creating and Editing ISO-Surfaces
VMoveXGUI provides the ability to create iso-surfaces. This module describes the procedure for creating iso-surfaces.
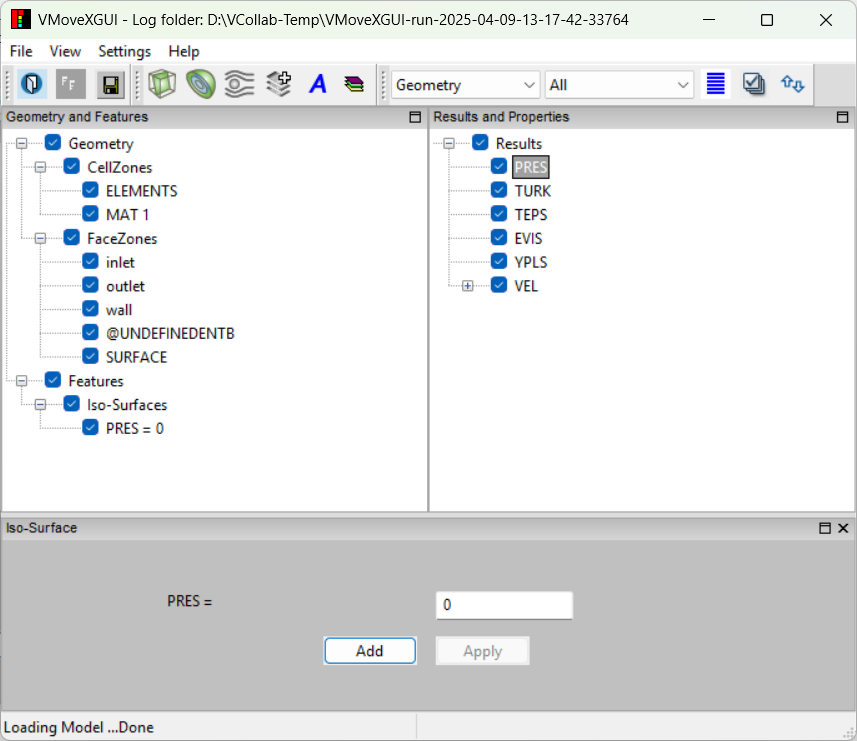
Start VMoveXGUI and load a result file. For this example,Gold.case file found in the Samples/Case/in/gold directory is used.
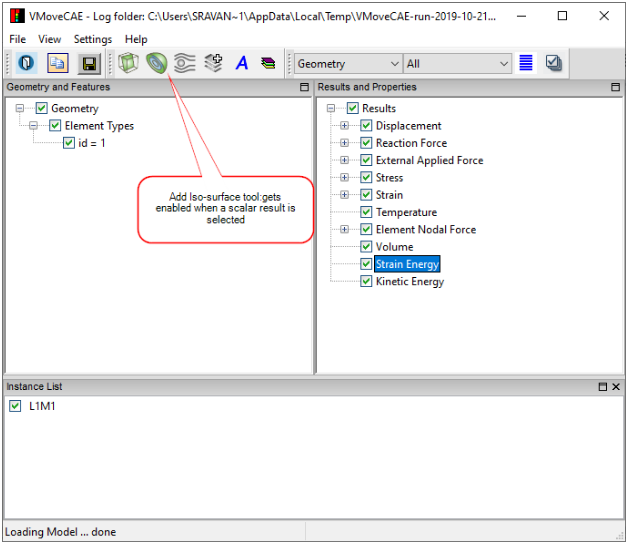
Click on the Add Iso-Surface icon to create iso-surface.
Note: Iso-Surfaces can be created for scalar results only. For vector, 6-DOF and tensor results, users can create iso-surfaces for their scalar derived types. The “Add Iso-Surface” icon is enabled only for these results.
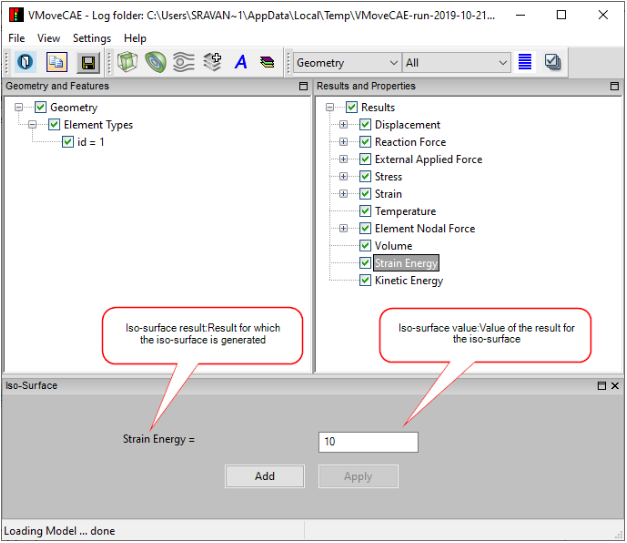
After clicking on Add Iso-Surface the Iso-Surface window opens. The result for which the iso-surface is created is shown in the Iso-Surface window and its value is displayed in a text area which can be altered as desired.
To add an iso-surface, enter an iso-surface value say “0” in the text area and click on Add. This will create the “PRES = 0” iso-surface under the Features tree as shown in the below image.
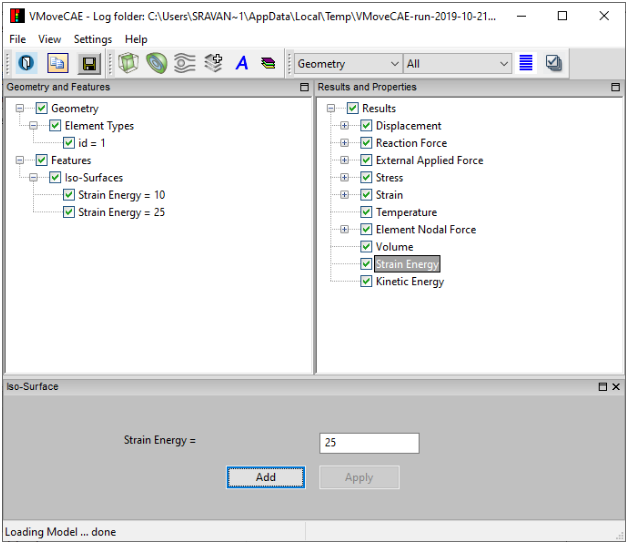
To add a second iso-surface for the same result, enter 10 in the text area and click Add.
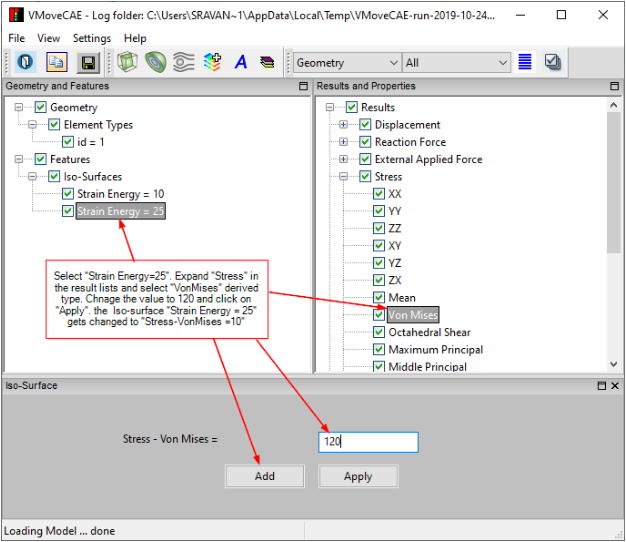
To change the properties of “ PRES = 10” iso-surface, expand the VEL tree to display its derived types. Select X. This will change the iso-surface label to “VEL - X”. Enter a value of 0.1 and click apply.
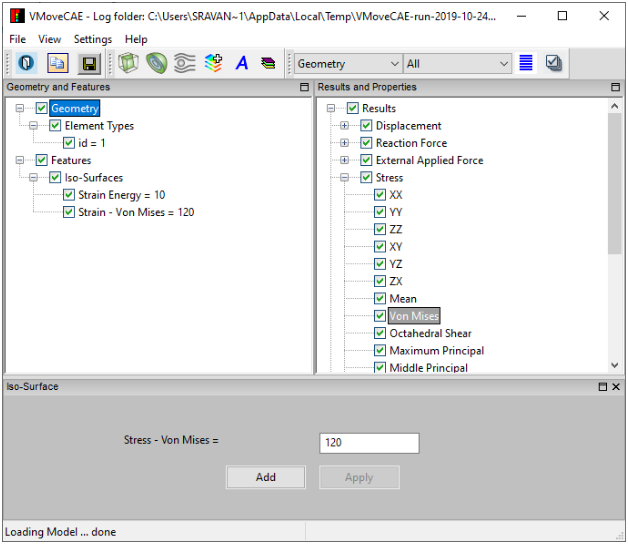
The iso-surface “PRES = 10” is now changed to “VEL - X = 0.1”.
Click on Save CAX to Translate and create a CAX file. Open it in Pro or Presenter to visualize the iso-surface. If the iso-surface is out of bounds and not cutting the geometry then no iso-surface will be created.