Ansys WorkBench to CAX
VMoveCAE allows users to work with Ansys files in several ways. The most common actions are explained in the module.
Restoring Ansys WorkBench archive file `http://training.vcollab.com/CS_ANSYS_WB2CAX_vmc.html#Restoring_WorkBench_archive_file`_.
Generating Ansys input file CDB in WorkBench `http://training.vcollab.com/CS_ANSYS_WB2CAX_vmc.html#Generating_cdb_and_rst_files_in_WorkBench`_.
Usage of CDB and RST together in VMoveCAE `http://training.vcollab.com/CS_ANSYS_WB2CAX_vmc.html#Usage_of_CDB_and_RST_`_.
Restoring WorkBench archive file
Launch Ansys WorkBench.
Click File | Restore Archive…
Select an archive file with extension *.wbpz and click Open
A file with extension *.wbpj and a folder with the same name will be restored in the working directory.
Generating CDB and RST (Ansys Input files) files in WorkBench
Launch Ansys WorkBench.
Load workbench project files (*.wbpj).
The working directory contains a .wbpj file and a folder with the same name that contains all solution files.
In the workbench, right click on Mesh in the project schematic page
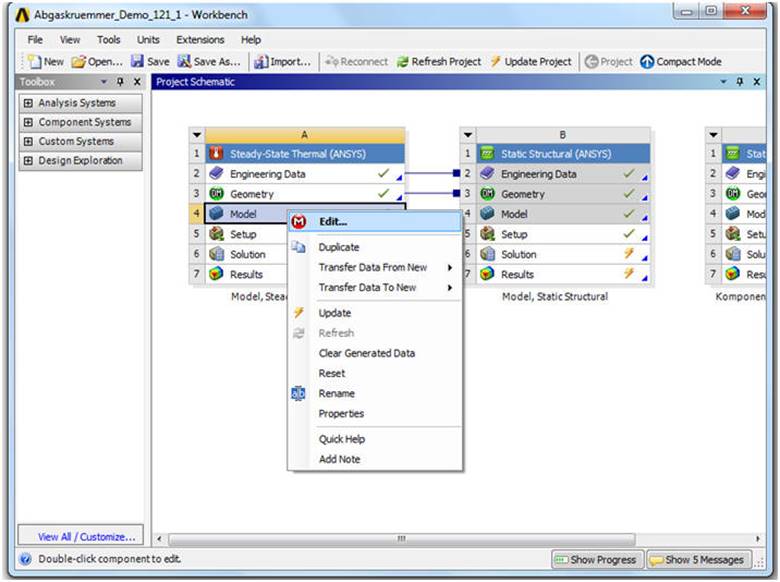
Click Edit (Mechanica) from the context menu.
This opens Ansys Mechanical with mesh.
From the project model tree in the left span, select the Geometry option under the solution group.
Right click the individual parts that need to be included in the CAX file and select Create Named Selection
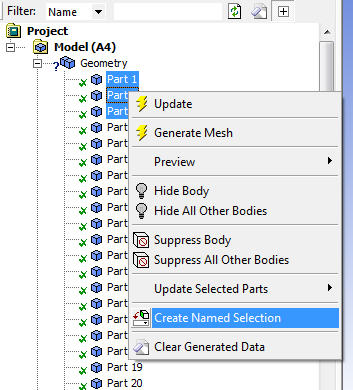
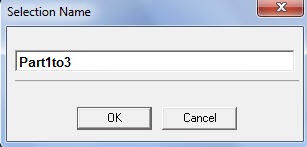
Provide a name for the Selection
If results are present already, clear the old results by right clicking on Solution -> Clear Generated Data.
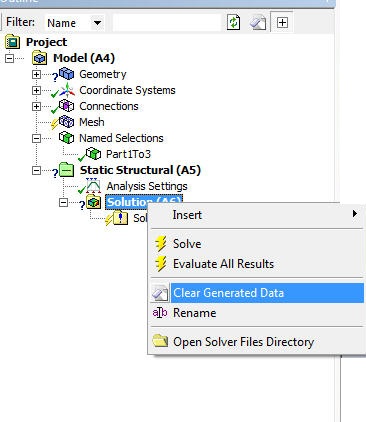
From the project model tree in the left span, click Commands under the solution group.
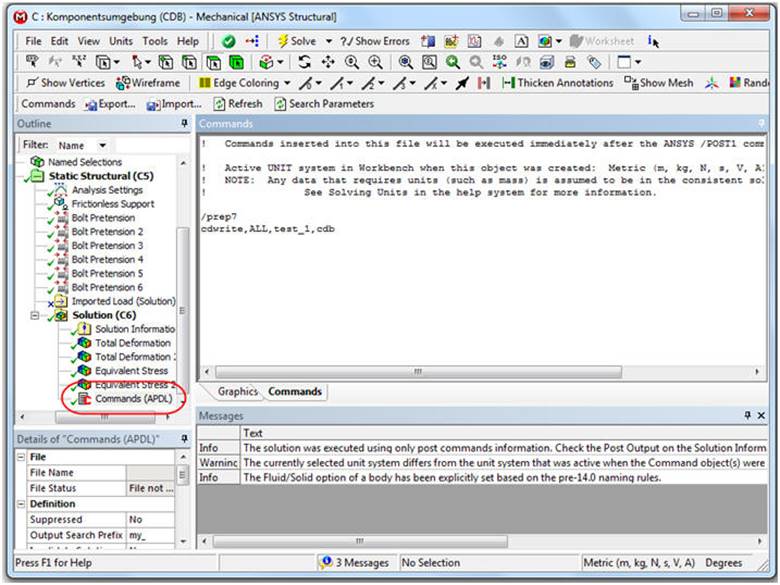
The Commands window opens up.
- Use the following command to generate a CDB file.Syntax
/prep7 cdwrite , data_to_write, file_name, file_ext.To know more about the CDWRITE command, visit the link below,For example,/prep7 cdwrite, ALL, test_1, cdb
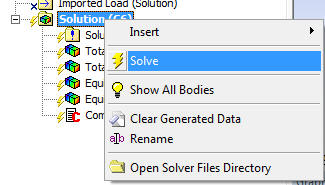
Right click on Solutions from the project model tree and select Solve
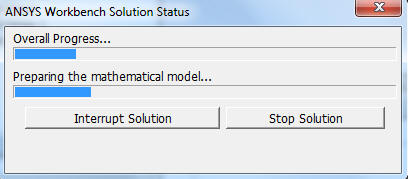
Solution Progress Window opens up and disappears once the process is over.
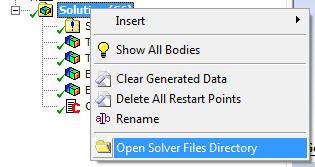
To know the location of CDB and RST files, right click on Solutions and select Open Solver Files Director.
Note:
If you only include the command snippet and click on Solve, Ansys only executes the commands in the snippet, which produce a useless CDB file without further information.
Using of CDB and RST in VMoveCAE
VMoveCAE uses CDB files to extract user defined part names as defined in Ansys and appends results to the parts from RST.
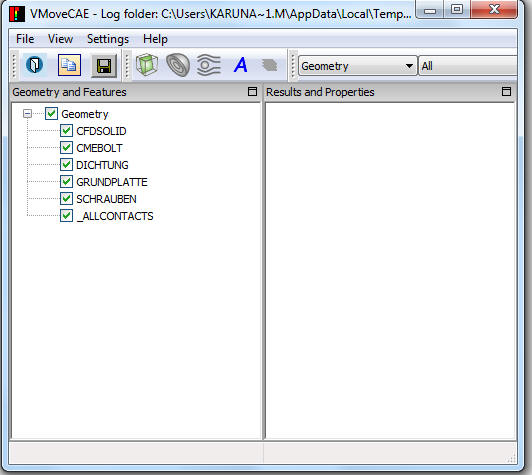
Load a CDB file in VMoveCAE using File | Open.
VMoveCAE lists all the user defined part names extracted from the CDB file.
Make sure that all the parts are loaded with proper names in VMoveCAE.
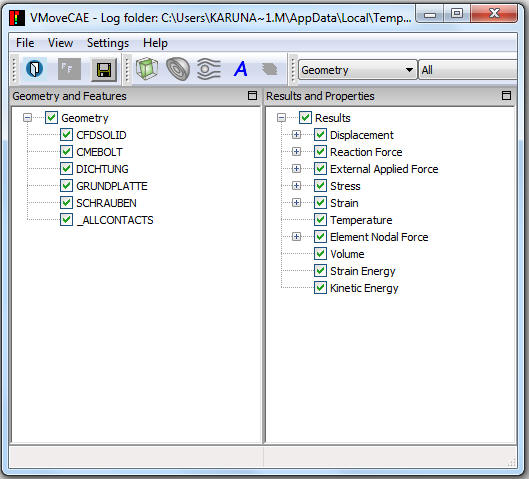
Click File -> Append Results or append icon
 .
.Select the RST file and click OK in the file browser.
Make sure that all the results are loaded.
Click on Save.
Wait for the message ‘Translated Successfully’.
Double click the CAX file to view in VCollab Presenter.